Phaze one:
02 July 2009
After reading up on how to pull the star trek dash apart, and reading the warning to watch out for the bit of metal that takes a chunk of skin off first time, I still managed to remove that chunk of skin.
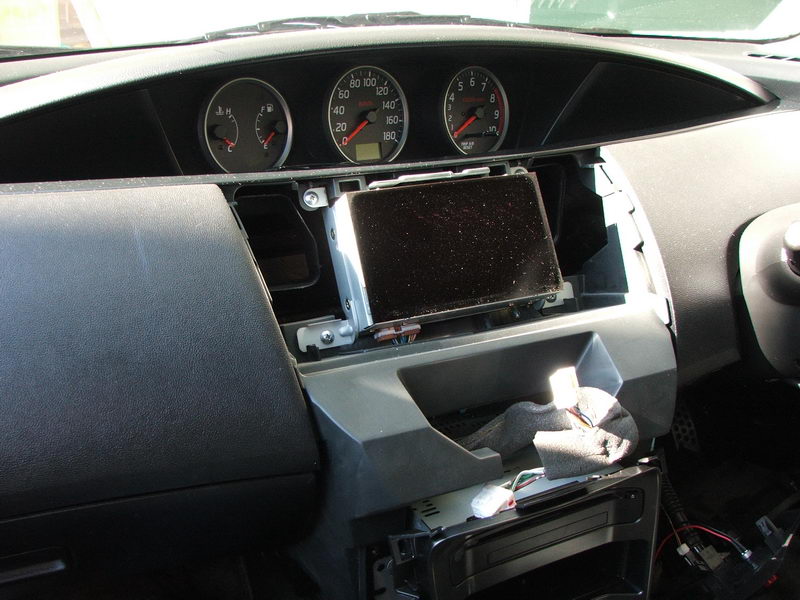
anyway...This is the factory screen
I found a local version of the cd/tuner unit from a wrecker, it was out of a 2005 version of my car, so i now have the ability to tune in local radio stations without a band expander.
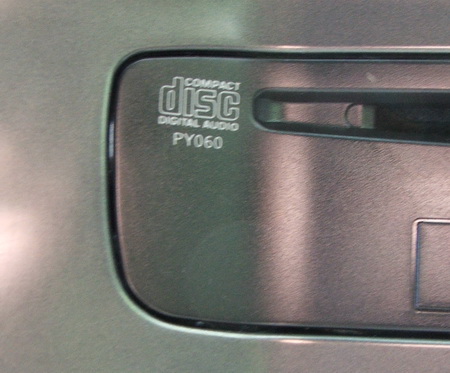
this is the JDM model number, the NZDM is CY060 super easy to change over.
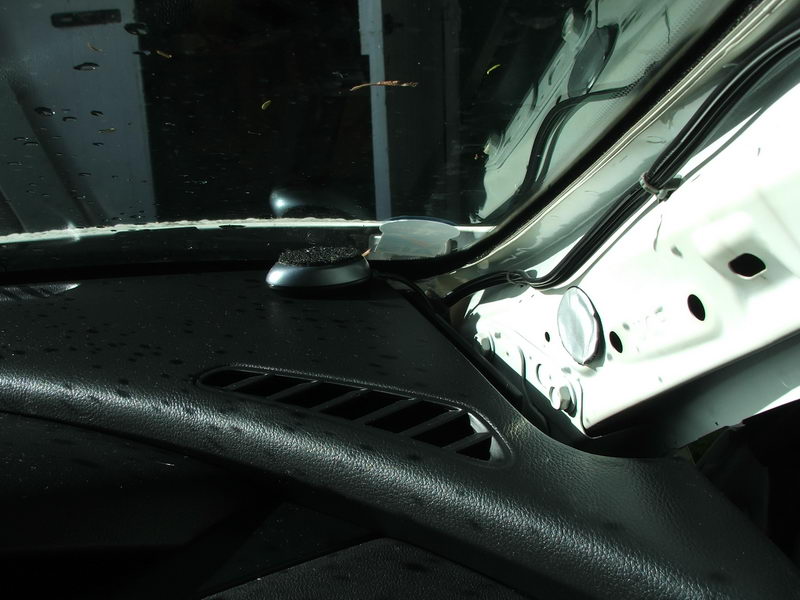
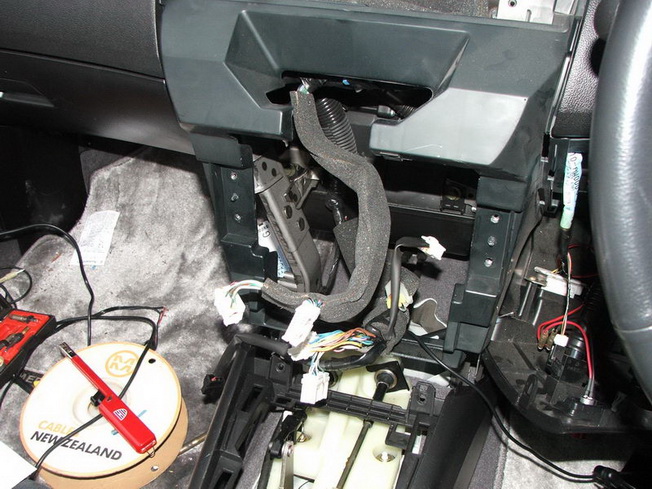
I was amazed at how much space was under the dash, especially in front of the driver.
Putting the GPS receiver on the dash took only a few minutes as i was able to put my arm through and grab the cable, without weaving my arm in between all the crap that is normally there, my previous car took about 2 hours to do the same thing.
I got a CD changer emulator off a local company (it sort of works), I am talking to them about some "design" issues, as its
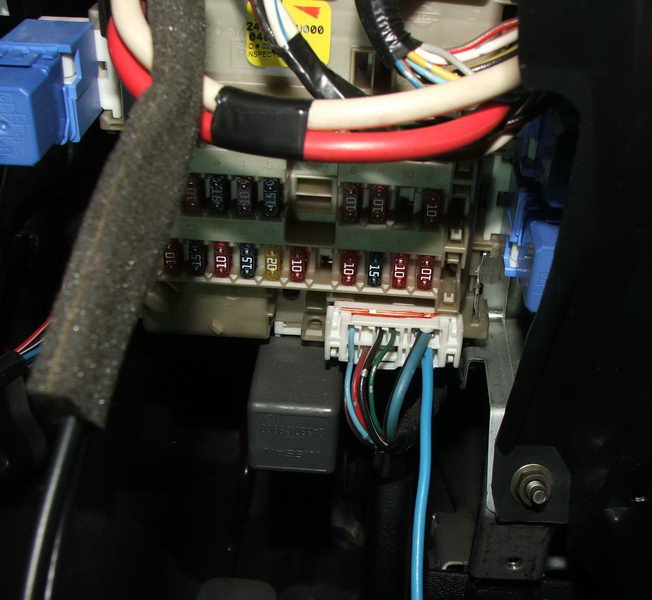
Running power was easy as well, as the car pc with everything running all USB devices and the screen maxed out, almost consumes 4A at 12V.
There was a spare 10A output in the fuse box / distro board so that was easy as to get power (the light blue wire)
Still more space to hide things, after everything is removed.
Page 2 - Phase one, the install
Page 5 - Sound proofing part 1
Page 6 - Sound proofing part 2
Page 7 - Sound proofing part 3